Recorder Basics
This section covers the basic functionalities of the BlinqIO AI Recorder to help you start recording test scenarios.
Before You Begin
Make sure you've completed the Getting Started process.
Launching the Recorder
Follow these steps to start the AI Recorder in your desired environment.
Open your project and switch to the desired environment.
Click Record Scenario at the top.
A prompt appears asking you to choose how to record your test scenario:
In the cloud
Locally (Recording takes place on your machine using the BlinqIO Editor, ideal for testing local or private sites.)
To use this option, click Download editor if you haven't installed it yet.
TIP
Refer to the Installation Guide for installation steps.
After installation, click Start Recording.

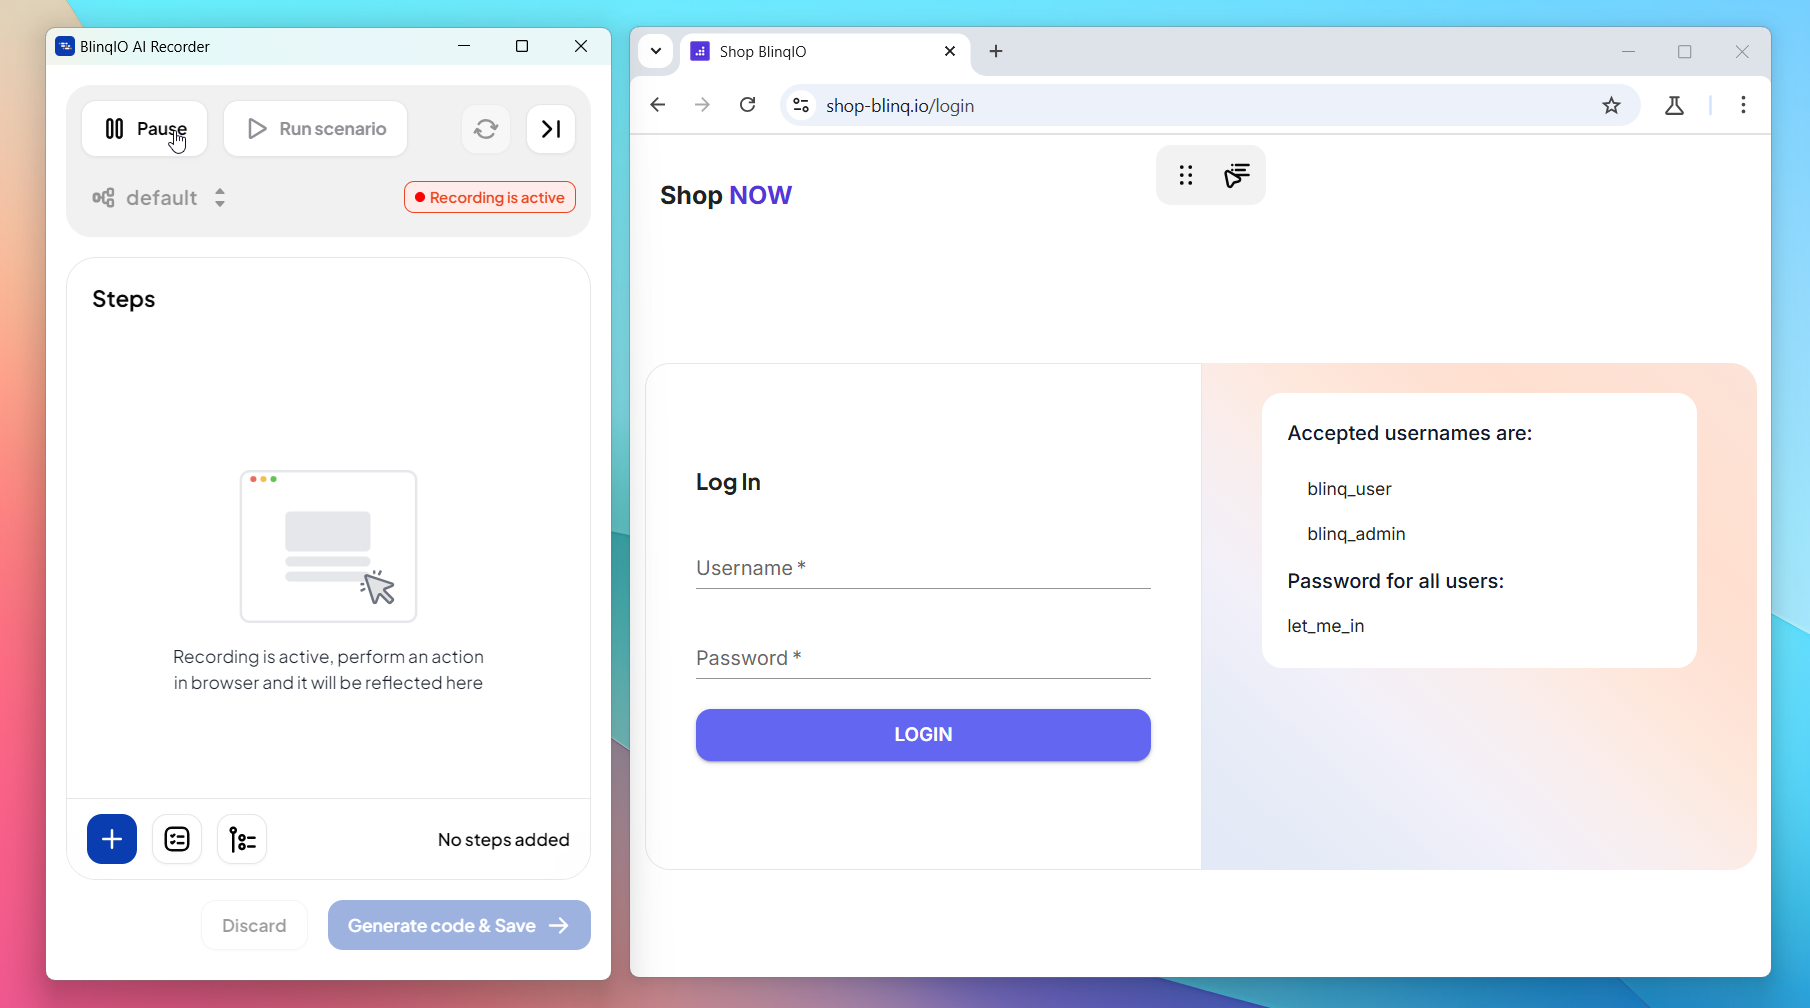
The BlinqIO AI Recorder launches alongside a Chromium window with the application under test (https://www.shop-blinq.io).
Note
Depending on your network speed, this operation may take 1 to 2 minutes.
Pause and Resume Recording
The Recorder always starts in Recording mode, indicated by a red Pause button at the top. To pause the recording, click the Pause button, which will change to Continue.
Things to note
- When recording is paused, actions performed in the web browser will not be recorded.
- Options such as Run Scenario, Refresh, and Change environment are only available in Pause mode.
Recording Your Test
To record your test steps:
Ensure the Recorder is in Recording mode.
Perform actions in the browser. The Recorder will capture your actions in real-time and generate corresponding test steps and code.
Refresh Browser
Click the Reload icon at the top to refresh the browser window containing your application under test. Refreshing resets cookies and brings the application back to its initial state.
WARNING
Do not refresh the browser directly. Always use the Recorder's refresh button.
Playing Back Recorded Steps (Run Scenario)
Playback allows you to verify recorded steps before saving.
Record your steps in Recording mode.
Pause the recording.
Refresh the browser.
Click Run Scenario.
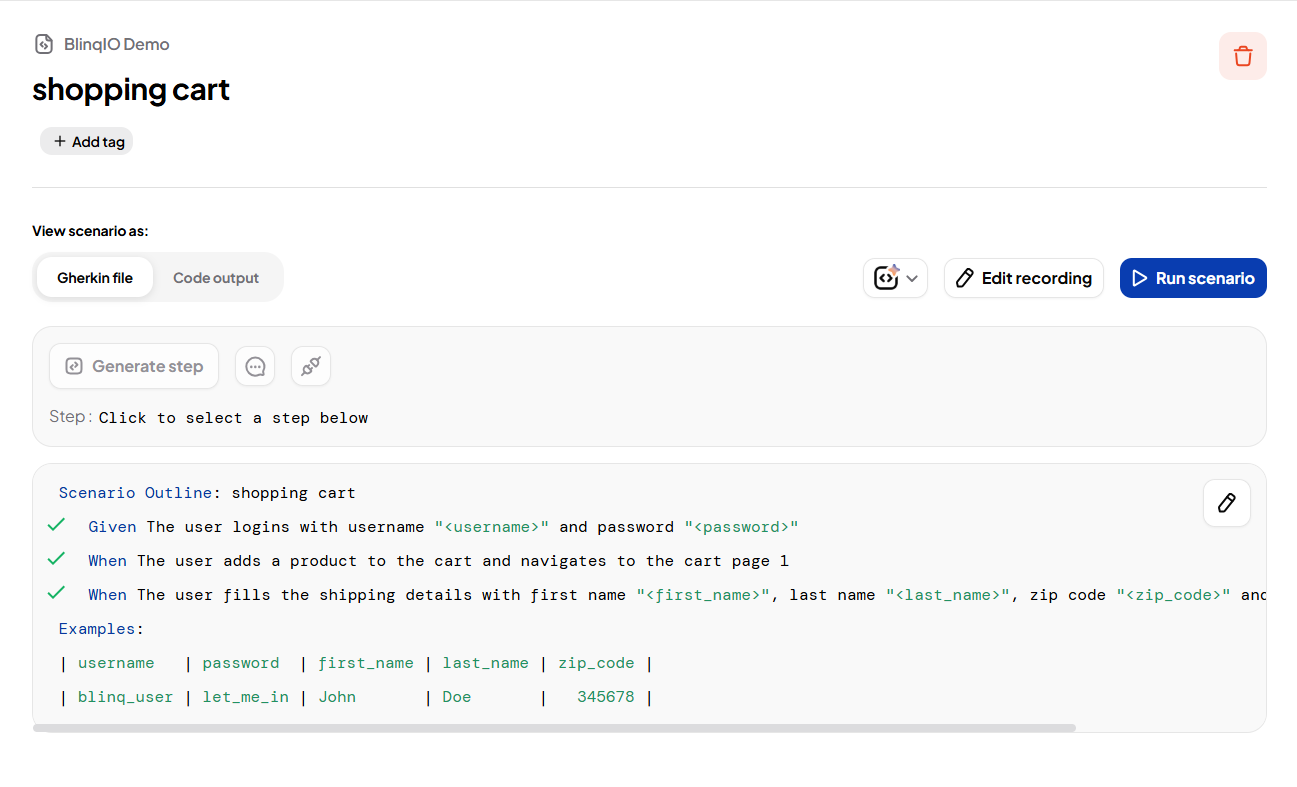
View Test Parameters (Examples)
The Recorder automatically recognizes test data in your steps and parameterizes them in the Examples section. Use the expand button to open the BlinqIO Editor and view the test parameters.
TIP
You can adjust parameter values and rerun tests with the updated data.
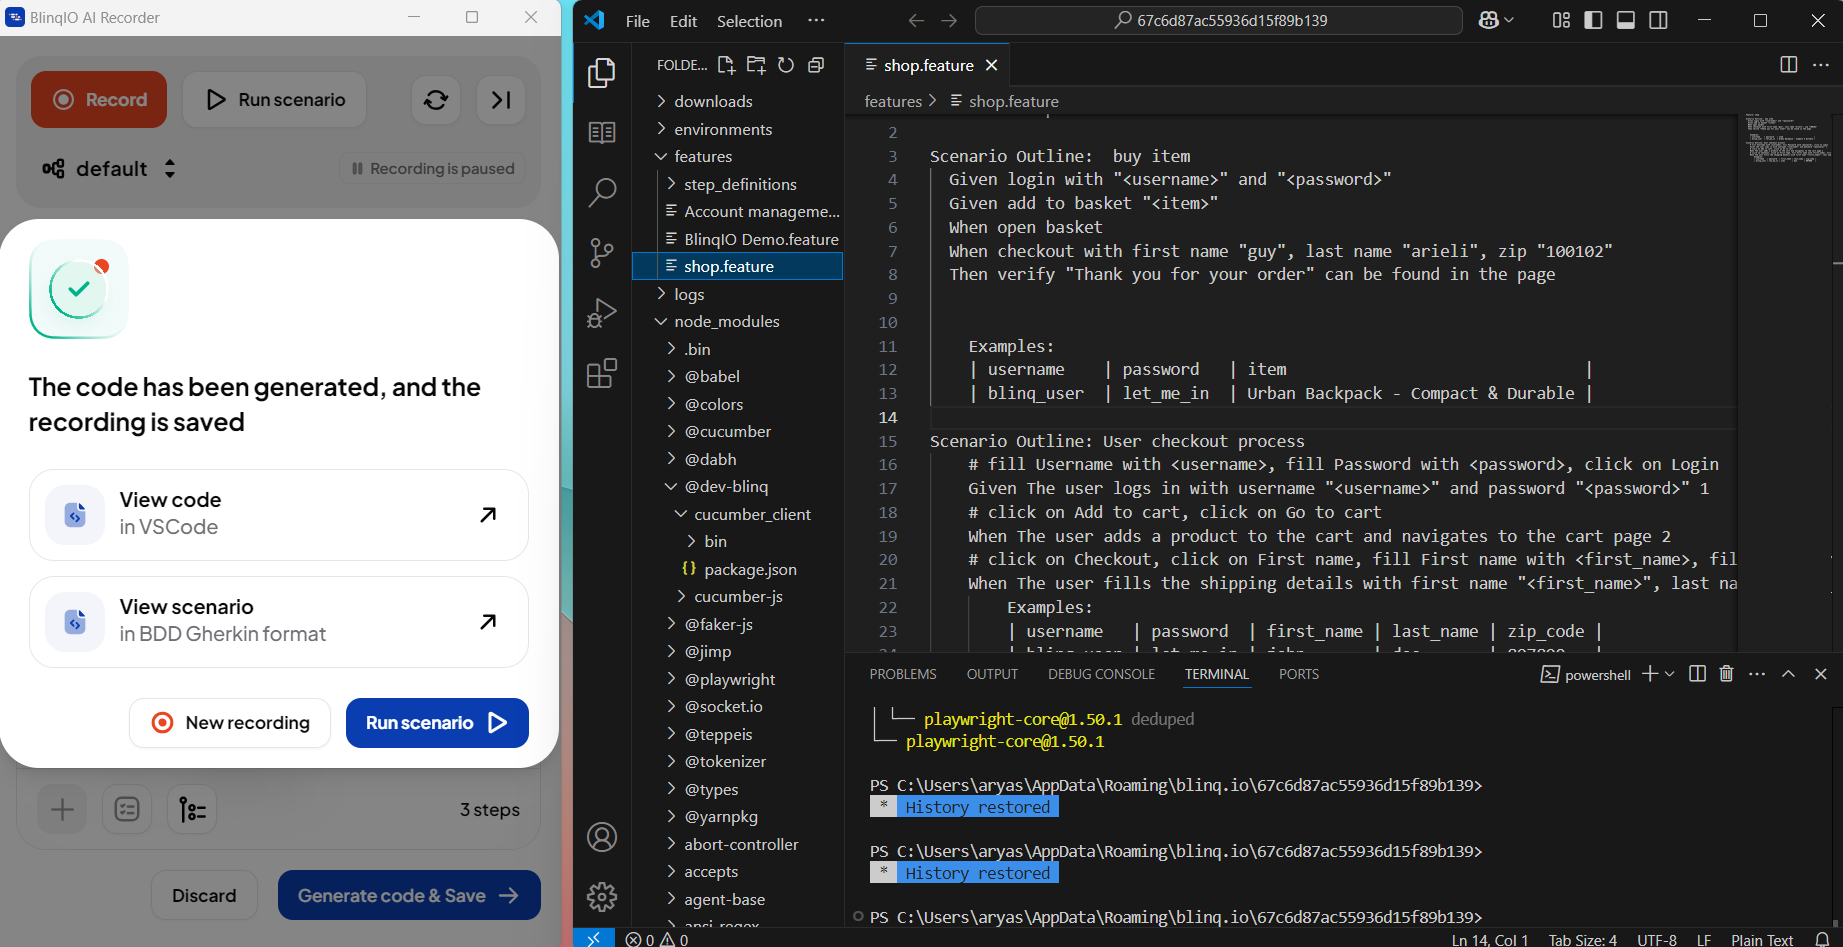
Generate Code & Save
After recording the "Shopping Checkout" test steps, click Generate code & Save.
Enter a Feature Name and Scenario Name. The AI suggests names by default. You can edit them if needed.
Click Continue to view the generated code and scenario.
You will then see two options:
View Code in VS Code: Opens the generated code in Visual Studio Code.
Not working?
Ensure the
codecommand is added to your PATHView Scenario in BDD Gherkin format: Opens the generated Gherkin Scenario in your BlinqIO account.
Note
The generated code and scenario are automatically synced with your BlinqIO account.